
How to Decorate Cookies with Silicone Moulds – Easy Fondant Techniques
Share
How to Decorate Cookies with Silicone Moulds – Easy Fondant Techniques
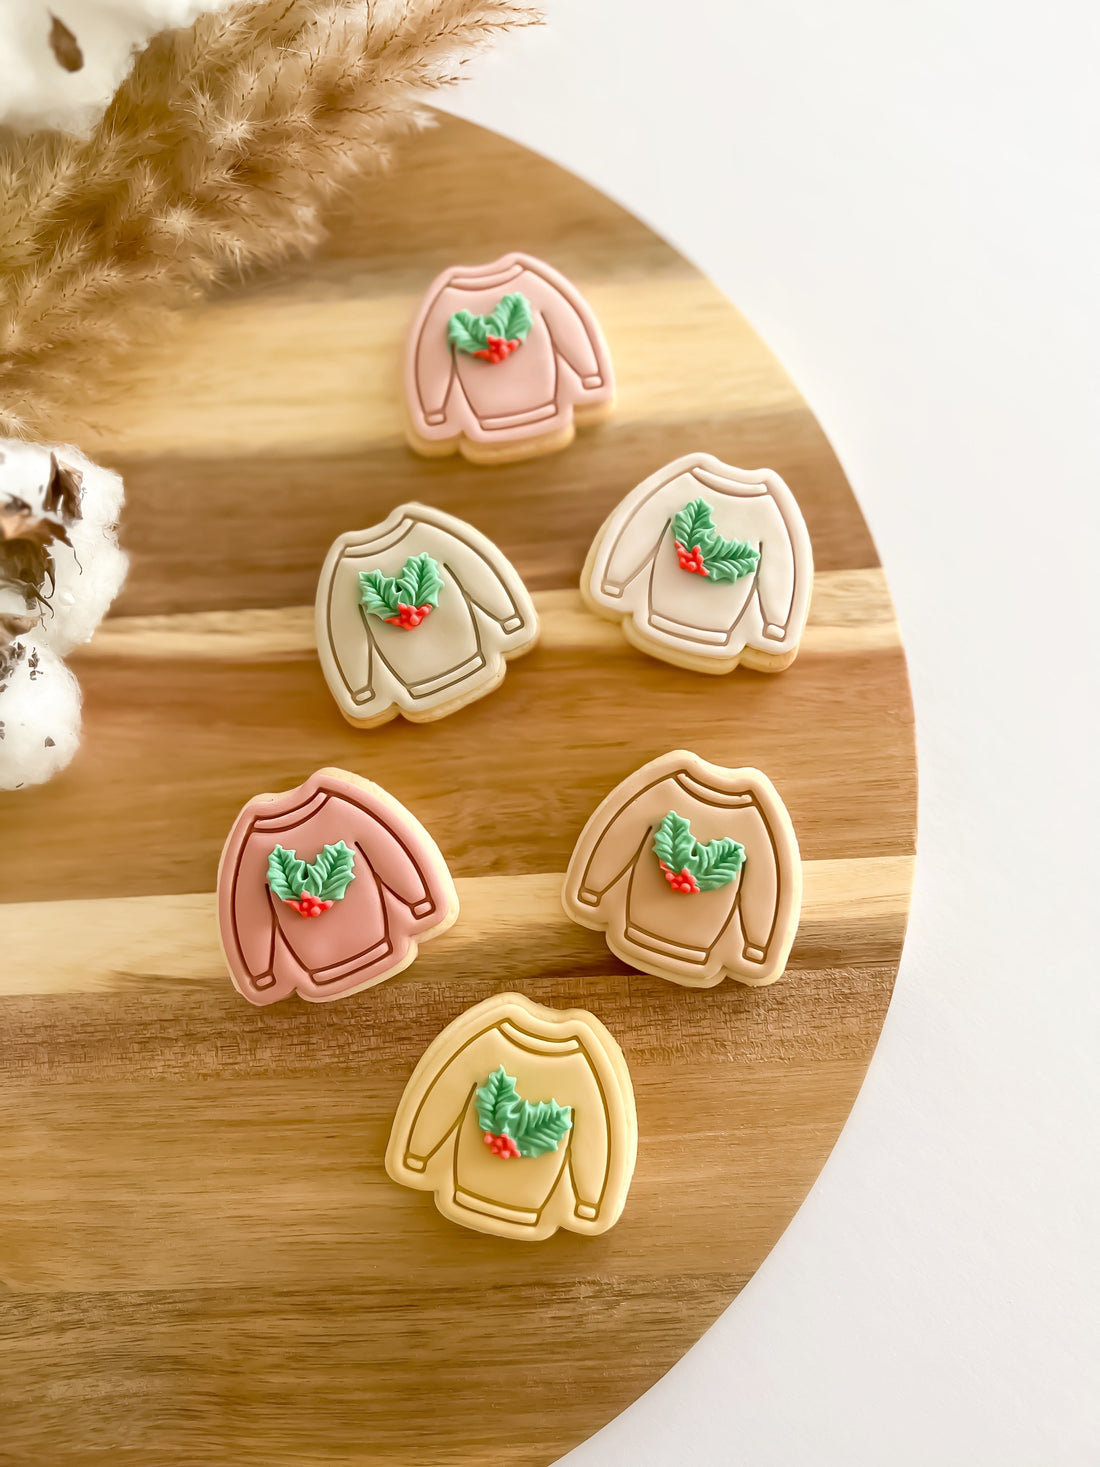
Decorating cookies with fondant is a fun and creative way to add a unique touch to your baked goods. Using silicone moulds allows you to create intricate shapes and patterns with effortless precision. Whether you’re making elegant floral designs or playful characters, silicone moulds help transform simple cookies into stunning edible art!
Follow this step-by-step guide to perfectly decorating cookies with fondant and silicone moulds.
Step 1: Gather Your Materials
Before you begin, ensure you have all the necessary tools and ingredients.
✔ Silicone Moulds: Choose food-grade silicone moulds in different shapes and patterns (flowers, letters, numbers, lace, or themed designs). ✔ Fondant: Opt for a soft, pliable fondant that’s easy to work with. ✔ Cornflour (Cornstarch): Prevents sticking inside the mould. ✔ Rolling Pin: Helps roll fondant to the perfect thickness. ✔ Cookie Cutters: Cut fondant to match the cookie’s shape. ✔ Edible Glue or Water: To attach fondant decorations securely. ✔ Fondant Smoother or Brush: Helps remove excess powder and perfect the finish.
Step 2: Preparing the Fondant
Fondant should be soft, pliable, and at room temperature before use.
✔ Best preparation tips:
-
Knead the fondant for a few minutes to make it smooth and elastic.
-
If the fondant is too dry or cracking, add a small amount of shortening or glycerin.
-
If the fondant is too sticky, let it sit uncovered for a few minutes before using.
Step 3: Using the Silicone Mould
Silicone moulds make detailed decorations easy, but proper technique is key!
✔ How to get the best moulded fondant designs:
-
Lightly dust the mould with cornflour to prevent sticking.
-
Press the fondant firmly and evenly into the mould.
-
Use a small spatula or knife to remove excess fondant.
-
Gently flex the mould to release the fondant shape.
-
If the fondant sticks, add more cornflour and try again.
💡 Pro Tip: If your design is delicate, place the moulded fondant in the freezer for 5 minutes before removing it. This helps keep the details sharp and prevents stretching.
Step 4: Attaching the Fondant to the Cookie
Fondant decorations need a secure hold to stay in place on cookies.
✔ Best methods for attaching fondant:
-
Edible Glue: The strongest bond for fondant-on-fondant decorations.
-
Water: Use sparingly—too much can dissolve the fondant.
-
Royal Icing: Works well for heavy decorations or textured cookies.
-
Sugar Syrup: Lightly brushing syrup onto cookies can also help adhesion.
💡 Pro Tip: If your cookies have a fondant base, allow the base to set for at least 30 minutes before adding extra decorations to prevent shifting.
Additional Tips for Perfect Fondant Cookie Decorations
✔ Use a soft brush to remove excess cornflour from fondant decorations. ✔ Experiment with colors by adding food gel to white fondant for custom shades. ✔ Dust moulded fondant with edible shimmer or luster dust for extra dimension. ✔ Let fondant decorations dry slightly before handling to avoid fingerprints or distortion. ✔ Store finished cookies in an airtight container away from moisture to prevent fondant from softening.
Final Thoughts
Decorating cookies with fondant and silicone moulds is an easy and fun way to elevate your baking. By preparing your fondant correctly, using the right techniques, and mastering attachment methods, you can create beautiful, professional-quality cookie decorations every time!
💬 Got a favorite fondant decorating tip? Share it in the comments!